
Step 4: Linking each student to a tablet
The last step you need to take before your students are able to get started, is linking each tablet to a student. Students should always work on their own tablets. When you have linked all students to a tablet, the tablet activation has been completed. When starting a new schoolyear, the Snappet tablets stay connected to the same students, even though they moved to a new class. This means that students can use the same tablet as they did the previous school year and you do not have to link their tablets again.
Take the following steps to link the tablets to a student:
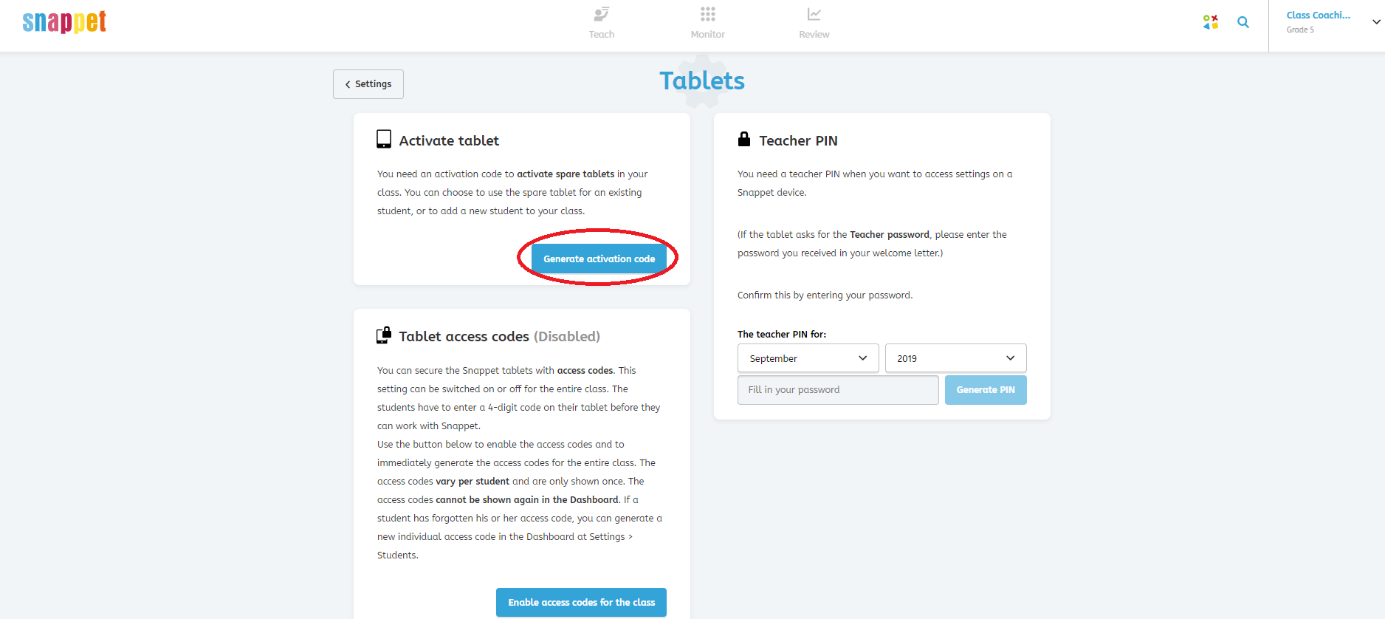
Generate the activation code
When you click on ‘Start Snappet’, it will ask for an activation code. You have to generate this code in your teacher dashboard. Go to ‘Settings’ and to ‘Tablets’ in the dashboard. Click on ‘Generate activation code’ to generate the code. The activation code is valid for 30 minutes. When the 30 minutes have expired, you can always generate a new code. This new code is valid for another 30 minutes.
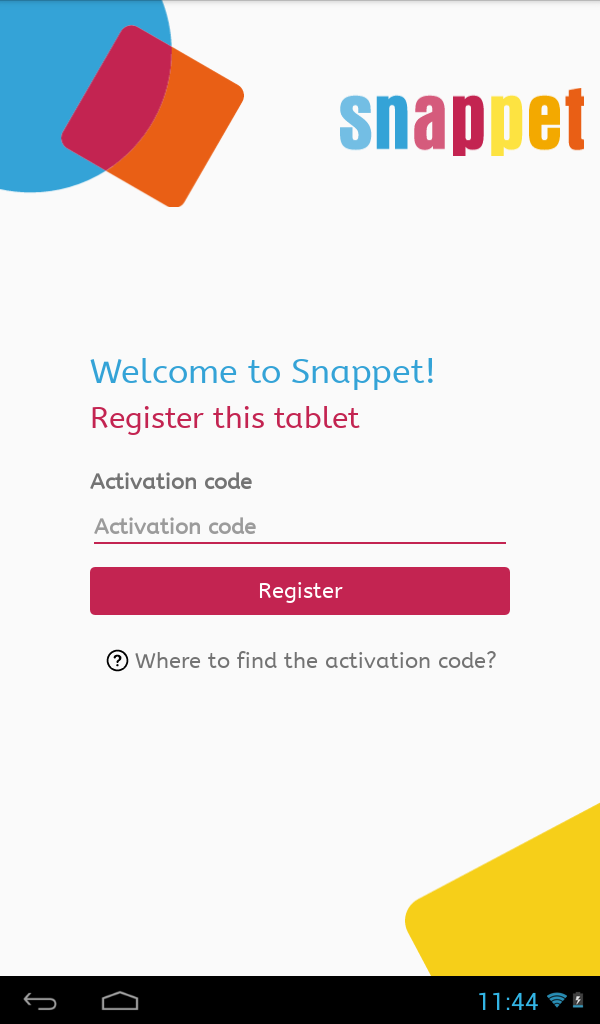
Fill in the activation code on the tablet
Go back to the tablet and click on ‘Start Snappet’ in the main menu. Fill in the activation code you generated. In the next screen you will see your class and school as a check. Is this correct? Then select ‘OK’. Is it incorrect? Then press cancel and generate a new activation code.
Select student on the tablet
The tablet will ask you to select a student from a list of students. Select the name of the student who is going to use that tablet and click ‘OK’. Write the name of the student on the name card in the cover.
You need to take these steps for each tablet.